What is Nesting?
Nesting optimization is a process of digitally preparing products and parts within the 3D Printer Bin specifications, allowing us to maximize the number of components in each print build. In simple terms, it can be compared to the concept of the popular arcade game ‘Tetris’ where the objective is to fit as many parts within the given space by changing the orientation of products, albeit a more advanced process as the orientation is a key factor in the finished part!
Why is Nesting Optimization important in DfAM?
By improving nesting density or ‘fitting more Tetris blocks’ into each build, the overhead costs are spread across all the parts, making the unit costs per product more favourable. Optimization can also help improve the surface quality, dimensional accuracy and part strength of the end product.
Part Orientation & Nesting
Parts can be orientated in any direction to optimize the print build, however it must be noted that the orientation affects the surface quality and strength of your parts so it is important that you have someone with experience on your team when preparing for printing.
Spacing: When nesting our parts, we also need to make sure that there is appropriate space between the wall surfaces to avoid parts fusing together. For example, let’s say the wall thickness of your product is 1mm, then there needs to be a space of 0.5mm between surfaces.
Dimensional Accuracy: Selective Laser Sintering (SLS) and Multi-Jet Fusion (MJF) are powder-based printing technologies that produce parts with very high accuracy and geometrical complexity. However, we must consider all the elements and performance requirements of our parts before we choose which is the best way to orientate our parts. Stair-stepping is a common occurrence with printing surfaces that have slight angles and curves. If the layers are offset it can sometimes create an uneven surface which needs to be taken into account.
Part Strength: The way in which we arrange parts has a big impact on the strength they are going to have when the print has finished. Some materials have what are known as ‘anisotropic’ properties; meaning they are stronger in one direction than the other. For example, with wood, you should never go against the grain.
Nesting Builds
Chaos
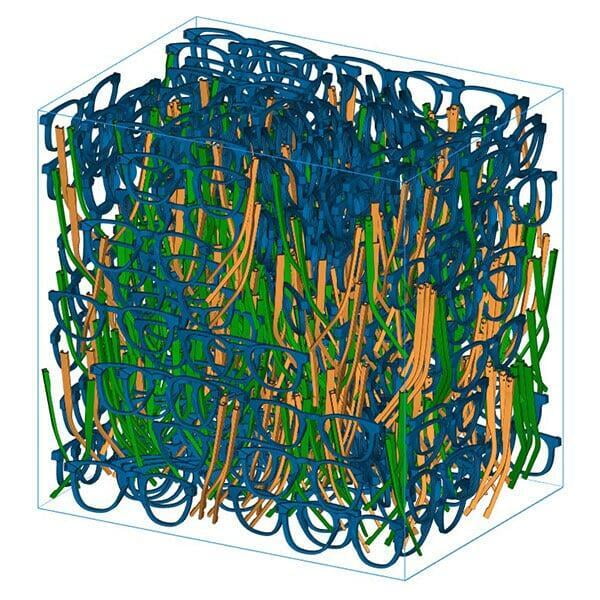
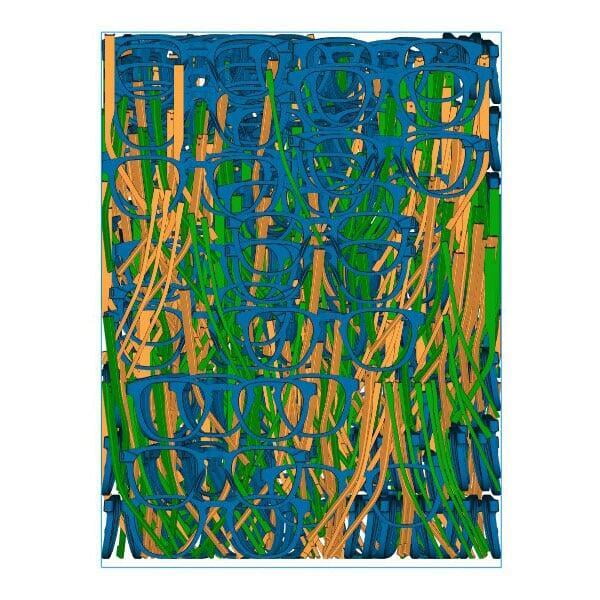
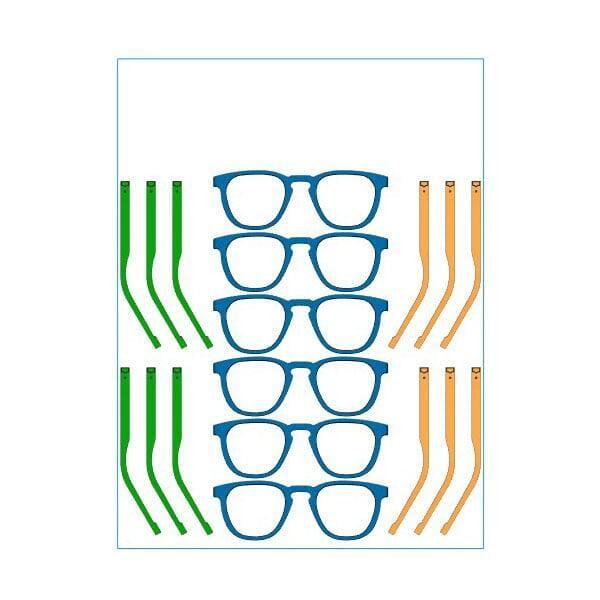
You can see that this build has not been optimized for nesting. All that has been considered here is packing as many parts into the bin as possible without consideration for the end product. Parts are likely to fuse, appear defected and have a poor surface finish.
Download Nesting
Information Pack
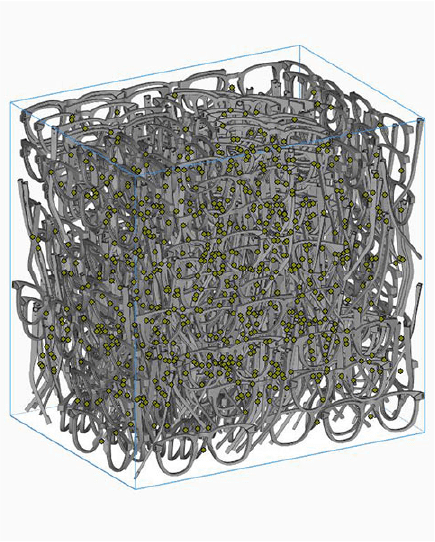
Optimized
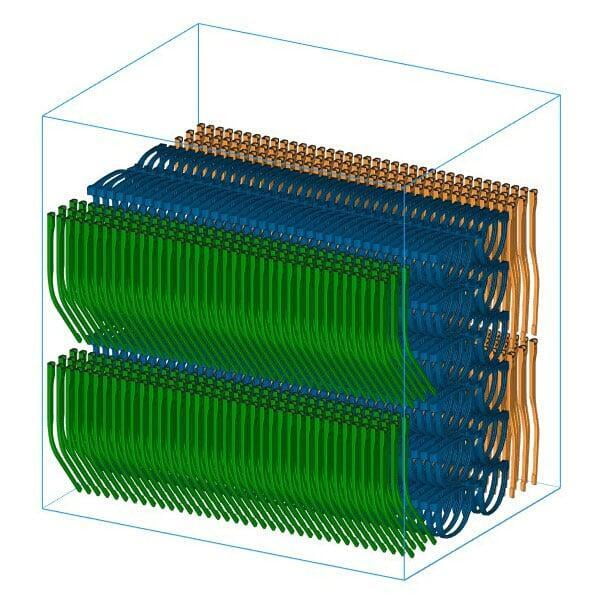
Parts have been nested according to the required finish and quality. The appropriate spacing has been allowed to avoid fusing and defects and the optimization team has achieved a cost-effective build while ensuring that the parts will be of consistent quality.
The two builds on display actually contain the same amount of product but after optimization we are able to shorten the build on the left to produce parts more efficiently per hour.
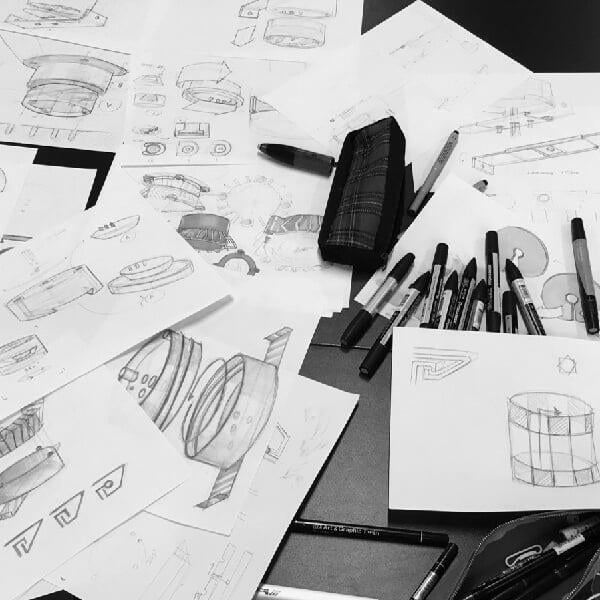
Introduction to Design Optimization
3D File Correction
& Optimization